
Closing a fiberglass pool in a climate that freezes is one of those jobs where the usual advice almost gets you there, but not quite. You’ve probably read to “lower the water level below the skimmer” and wondered whether that means 2 inches or 2 feet, especially when your pool drops to 8 feet in the deep end.
The direct answer: in a freeze-risk climate, leave the water in a fiberglass pool at 3 to 6 inches below the bottom of the skimmer mouth. Do not drain significantly lower than that, regardless of deep-end depth. This article explains why that range exists, what changes it, how to execute it step by step, and what happens if you get it wrong in either direction.
Why Fiberglass Pools Follow Different Rules Than Gunite or Vinyl
Fiberglass shells are not attached to the ground. They sit in a bed of sand or gravel backfill, and the weight of the water inside is what keeps them stable. When groundwater is present around the shell (and in most freeze-risk climates, it is), that water pushes up and inward on the outside of the shell. The water inside pushes back. Remove the interior water and the shell can float, bow, or shift. This is called hydrostatic uplift, and it is not a hypothetical. It is the most common fiberglass pool repair situation that follows a winterization done by someone who was used to working on gunite pools.
Gunite pools are bonded to the earth. Vinyl liner pools rely on the liner’s stretch but are also structurally different. Fiberglass is its own category, and the closing water level reflects that.
The Right Water Level: 3 to 6 Inches Below the Skimmer
The 3-to-6-inch range below the skimmer mouth is the target for fiberglass pools in freeze climates because it accomplishes two things simultaneously. First, it moves the water surface far enough down that ice forming at the surface cannot reach the skimmer throat. Second, it keeps enough water in the pool to hold the shell in place through any groundwater pressure the winter brings.
In a pool with an 8-foot deep end, dropping the level 6 inches below the skimmer still leaves roughly 7.5 feet of water in the deep section. That is not a “partially drained” pool in any meaningful sense. The deep end stays full. You are only dropping the surface level in the shallow zone to protect the skimmer hardware from freeze damage.
Some closers drop to 12 inches below the skimmer on pools without main drain hydrostatic relief valves, particularly in areas with high water tables. If your installer or the pool’s documentation recommends that, follow it. But 12 inches is the outer limit. Beyond that, you are taking on more structural risk than the ice protection is worth.
What Changes That Target Number
Several real-world factors push you toward the lower end of the range (closer to 6 inches) or allow you to stay at the shallower end (closer to 3 inches):
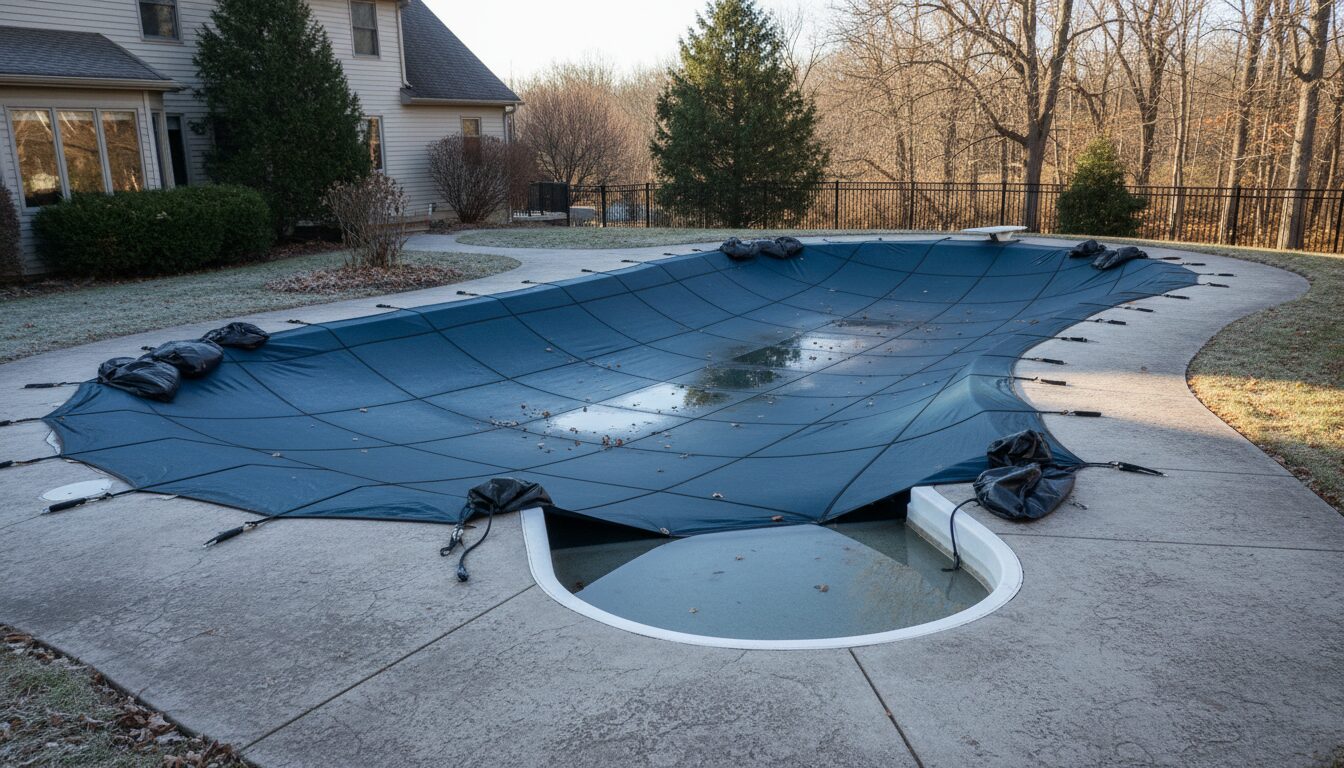
- Cover Type: A mesh safety cover lets rain and snowmelt through, so your water level will rise over the winter. Start at 6 inches below the skimmer to give yourself room. A solid cover sheds water, so 3 to 4 inches below is fine as a starting point.
- Freeze Severity: If you are closing in a climate that regularly hits single digits Fahrenheit, go to the full 6 inches. In a climate where freezing is occasional and brief (Zone 7 or milder), 3 to 4 inches is typically enough to protect the skimmer.
- Water Table: High water tables increase hydrostatic uplift risk. If you notice groundwater seeping into your pool area after heavy rain, stay closer to 3 inches below the skimmer and do not go deeper without consulting the pool’s manufacturer.
- Skimmer Style: Some fiberglass pools have a wide-mouth Swimquip-style skimmer with a large throat. Others have a narrower throat. A wider opening is more vulnerable to cracking ice, so err toward 6 inches in those cases.
Step-by-Step: How to Set the Water Level Correctly
- Step 1: Identify the skimmer mouth. Find the rectangular opening on the pool wall where water flows into the skimmer basket. The bottom edge of that opening is your reference point.
- Step 2: Measure your target drop. Using a tape measure or a marked stick, determine where 3 to 6 inches below that bottom edge lands on the pool wall. Mark it lightly with a piece of tape so you have a visual target.
- Step 3: Use your pump to lower the level. With a submersible pump or by running your filter system in backwash/waste mode, lower the water slowly. Check frequently. It is easy to overshoot by 4 or 5 inches if you walk away.
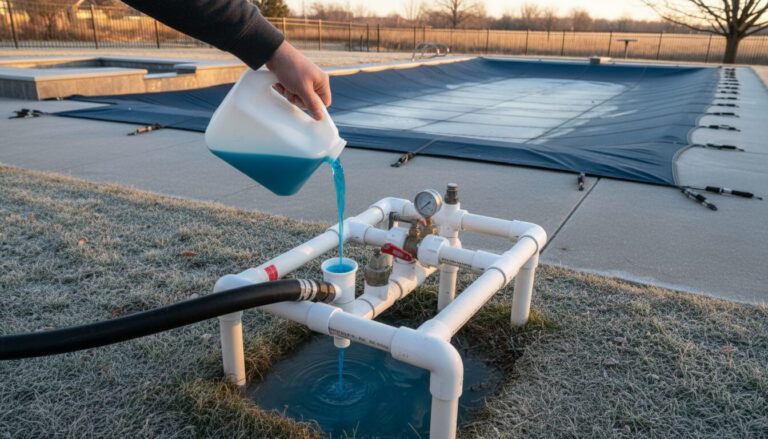
- Step 4: Plug the skimmer and returns. Once the level is set, insert winter plugs (also called winterizing plugs or Gizzmos) into the skimmer throat and each return jet. This stops water from sitting in those fittings where it can freeze and crack.
- Step 5: Blow out the lines (if applicable). In climates with hard freezes, a pool service tech will typically use an air compressor to push any remaining water out of the suction and return plumbing. This is separate from the pool water level question but equally important.
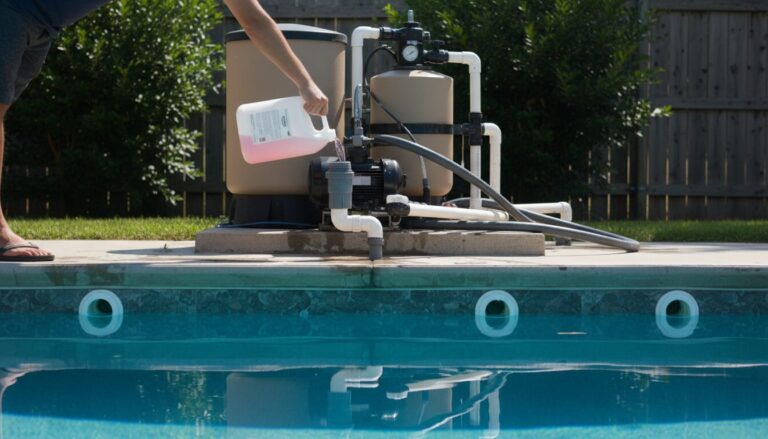
- Step 6: Balance the water chemistry before you cover. Pool water sitting still through winter still needs to be balanced. Shoot for pH 7.4 to 7.6, alkalinity 80 to 120 ppm, and a closing shock dose. Poor chemistry sitting on a fiberglass gel coat for five months can leave staining that looks a lot like the problem described in Closing The Case Of The Mysterious Green Tint.
- Step 7: Install the cover. Fit the cover tightly to minimize debris entry and water intrusion from above (for mesh covers, water through is expected; debris is not).
What Happens If You Get the Level Wrong
| Mistake | Consequence | Typical Repair Cost |
|---|---|---|
| Water left at skimmer level, freezes into skimmer throat | Cracked skimmer body or throat | $300 to $600 installed |
| Level dropped 18 or more inches below skimmer | Potential hydrostatic uplift, shell shift | $3,000 to $15,000+ to reset shell |
| Full drainage in high water-table area | Shell floated out of ground | $10,000 to $30,000 or total loss |
| Level set correctly but lines not blown out | Cracked return fittings or plumbing | $150 to $800 per line |
Why These Differences Matter
The skimmer crack repair is the most common outcome of a too-high water level. It is also the most preventable. The hydrostatic uplift problem is rarer but catastrophic when it happens, and it almost always traces back to someone draining a fiberglass pool the same way they would drain a gunite pool before resurfacing. If you are hiring a pool closer, specifically ask them whether they have fiberglass pool experience. That one question filters out a lot of risk.
A Worked Example for a 16×32 Pool With an 8-Foot Deep End
Say you have a 16×32 fiberglass pool, shallow end at 3.5 feet, deep end at 8 feet, with a standard skimmer on the long wall near the shallow end. You are in a climate that sees lows around 10 to 20 degrees Fahrenheit in January, and you have a mesh safety cover.
Because of the mesh cover, you want to start at 6 inches below the skimmer mouth. That 6-inch drop reduces your pool’s total water volume by roughly 150 to 200 gallons (the surface area near the shallow end times 0.5 feet). The deep end is barely affected: it still holds nearly 8 feet of water. You plug the skimmer and four returns, have the lines blown out, balance the chemistry (AquaDoc’s closing algaecide and shock combination works well for the winter dose), and cover it. The shell is under no uplift stress because the water volume is essentially unchanged from summer.
When you open in spring, the mesh cover will have let in several inches of rain and snowmelt, so your water level may actually be close to the skimmer mouth again. That is exactly what you planned for when you started at the 6-inch mark.
Frequently Asked Questions
How much water should I leave in a fiberglass pool when closing for winter?
Leave the water level 3 to 6 inches below the bottom of the skimmer mouth. This protects the skimmer from freeze damage while keeping enough water in the pool to prevent hydrostatic uplift of the shell. Do not drop lower than 12 inches below the skimmer under any circumstances.
Can I drain a fiberglass pool completely for winter?
Never drain a fiberglass pool completely. Without the weight of water holding the shell down, groundwater pressure can lift it out of the ground, a process called hydrostatic uplift. The resulting structural damage can cost $10,000 to $30,000 to correct and can total the pool entirely. Always maintain near-full water volume through winter.
What water level should I use if my fiberglass pool has an 8-foot deep end?
The deep-end depth does not change the target. Set the water level 3 to 6 inches below the skimmer mouth regardless of how deep the deep end is. With an 8-foot deep end, that still leaves about 7.5 feet of water in the deepest section, which is exactly what the shell needs to stay stable.
Does a mesh safety cover change how low I should drop the water level?
Yes. With a mesh cover, rain and snowmelt will pass through and raise the water level over winter. Start at the deeper end of the range, 5 to 6 inches below the skimmer, to give yourself a buffer. With a solid cover, 3 to 4 inches below is a reasonable starting point since precipitation is shed rather than absorbed. If you’re also planning spring chemistry prep, it helps to have read up on summer pool chemistry when everyone’s jumping in every day so you know what targets to aim for when you refill and reopen.
What happens if I leave the water level too high in a fiberglass pool over winter?
If water sits at or above the skimmer mouth and freezes, expanding ice will crack the skimmer throat or skimmer body. That repair typically costs $300 to $600 installed. In severe freezes, water trapped in the skimmer plumbing can also crack the suction line behind the wall. Dropping the level 3 to 6 inches below the skimmer before the first hard freeze prevents both outcomes.
The bottom line: close a fiberglass pool at 3 to 6 inches below the skimmer mouth and leave it there through winter. That one number protects both the skimmer hardware above and the shell structure below.