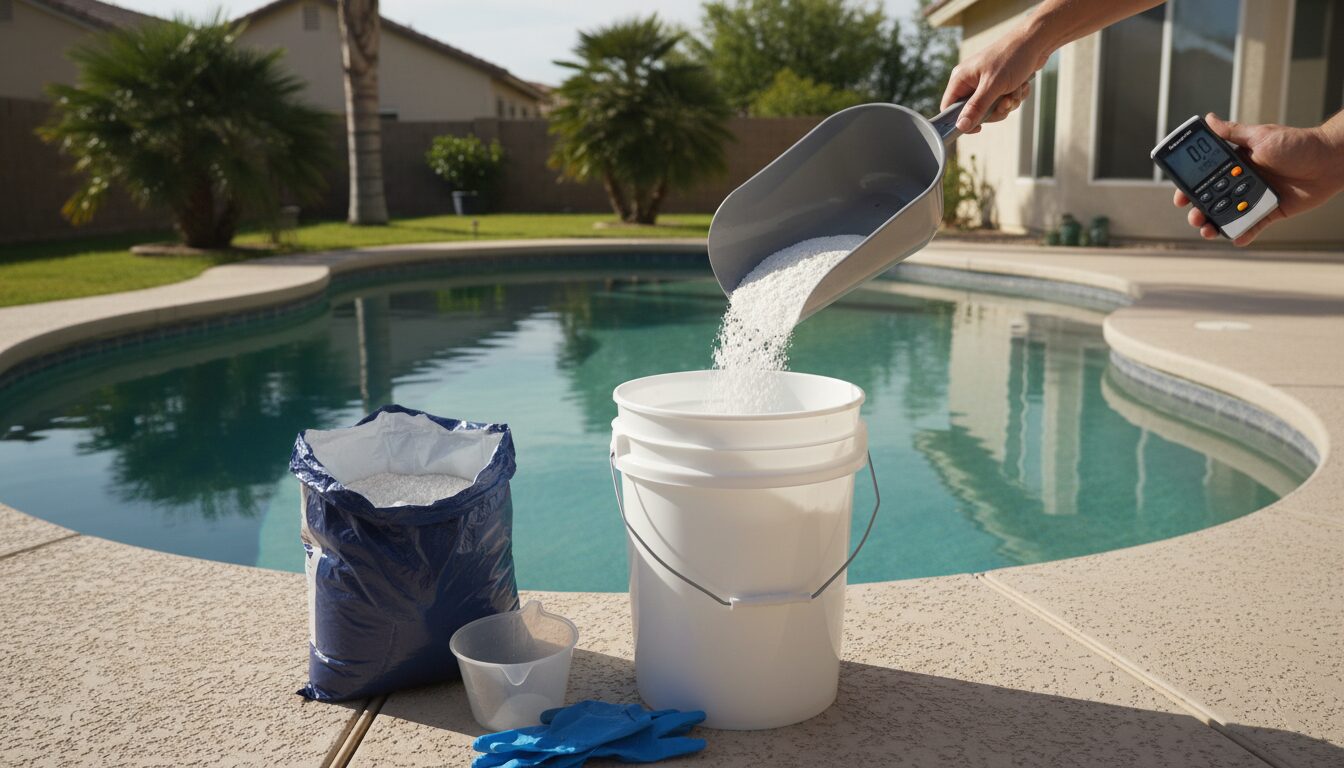

You filled the pool, tested the water, and the chlorine reading came back at zero. Now you’re staring at a bag of calcium hypochlorite and wondering exactly how much to pour in so you don’t either undershoot and leave the water unsafe or dump in so much that you spend the next three days waiting for levels to drop before anyone can swim.
For a 20,000-gallon gunite pool starting from zero free chlorine, you need approximately 2.6 lbs of 68% calcium hypochlorite to reach a shock level of 10 ppm. In practical terms, that means three 1 lb bags, which is the standard bag size most pool supply stores carry. This article walks through exactly how that number is calculated, why gunite pools have a specific wrinkle to watch for, and the step-by-step process to shock safely and effectively.
Why Calcium Hypochlorite and Not Something Else?
Cal hypo is the go-to shock for most situations because it hits fast, it’s concentrated, and it doesn’t add cyanuric acid (CYA) to the water the way trichlor-based shocks do. When you’re starting from zero chlorine, the last thing you want is to simultaneously spike your stabilizer. Cal hypo is typically sold at 65% to 73% available chlorine, with 68% being the most common granular formulation. That concentration is why a relatively small amount of product moves a large volume of water significantly.
The tradeoff is that cal hypo also contains calcium, so every dose raises your calcium hardness slightly. In a gunite pool, which already tends to leach calcium from the shell into the water over time, that’s worth keeping track of across multiple treatments. More on that below.
The Calculation: Where 2.6 Lbs Comes From
The standard benchmark is this: 1 lb of 68% calcium hypochlorite raises free chlorine by approximately 7.6 ppm in 10,000 gallons of water. That’s the number to anchor the math to.
For a 20,000-gallon pool, that same 1 lb raises chlorine by roughly 3.8 ppm. To reach 10 ppm from zero, divide your target by the ppm-per-pound figure:
10 ppm divided by 3.8 ppm per lb = 2.63 lbs.
Round up to 3 lbs for a clean, safe dose. At 3 lbs in 20,000 gallons, you’re landing at approximately 11.4 ppm, which is a solid shock level, well above the 10 ppm threshold that breaks down chloramines and kills most algae and bacteria, and well below a level that will damage surfaces or make the pool unusable for days.
If your pool has visible algae or a significant organic load from heavy use, aim for 15 to 20 ppm instead. That means 4 to 5.3 lbs of 68% cal hypo. For a pool with a green water situation, check out the guidance on how pool volume affects chemical dosing, because the total gallons are the single biggest variable in getting these numbers right.
The Gunite-Specific Factor: Calcium Hardness
Gunite pools are different from vinyl liner or fiberglass pools in one important way when it comes to shocking: the shell itself is porous and alkaline, and it continuously releases calcium into the water, especially in the first few years after plastering. This means your baseline calcium hardness is often already elevated.
Each pound of 68% cal hypo added to a 10,000-gallon pool raises calcium hardness by roughly 7 to 8 ppm. In your 20,000-gallon pool, adding 3 lbs adds about 10 to 12 ppm of calcium hardness. That sounds small, but if you’re shocking weekly through a heavy swim season, the calcium can creep up. Target a calcium hardness range of 200 to 400 ppm for gunite. Above 400 ppm, you risk scale formation on the shell, equipment, and tile grout.
Test calcium hardness before every major shock treatment, and keep a running log. AquaDoc makes a calcium hardness increaser that pool owners use for the reverse problem (soft water), which is a good reminder that calcium swings both directions and both matter in gunite pools.
Step-by-Step: How to Shock a 20,000-Gallon Gunite Pool With Cal Hypo
- Step 1: Test your water first. Confirm free chlorine is at or near zero. Also test pH (target 7.2 to 7.6 before shocking), alkalinity (80 to 120 ppm), and calcium hardness (200 to 400 ppm). Shock works faster and more efficiently at a slightly lower pH.
- Step 2: Run the pump. Turn on the circulation pump and make sure it will stay running for at least 8 hours after you add the shock. Good circulation distributes the chemical evenly and prevents hotspots that can stain or bleach the plaster.
- Step 3: Pre-dissolve the cal hypo. Fill a clean 5-gallon bucket with pool water. Add the cal hypo granules to the water (never the other way around). Stir until fully dissolved. Cal hypo that settles on a gunite surface undissolved can bleach or pit the plaster.
- Step 4: Add in the evening. UV destroys free chlorine rapidly. Shocking at dusk gives the chlorine the full night to work before sunlight starts breaking it down. This is especially important when starting from zero because there’s no reserve to absorb the loss.
- Step 5: Pour slowly around the perimeter. Walk the edge of the pool and pour the dissolved solution in a steady stream, distributing it evenly rather than dumping it all in one spot.
- Step 6: Wait and retest. After 8 to 24 hours, test free chlorine again. Don’t allow swimming until the level drops to 4 ppm or below. If it hasn’t dropped to a safe level by 24 hours, the pool likely had a heavier chlorine demand than the initial dose addressed, and a second treatment is warranted.
Dosing Summary by Target Chlorine Level
| Target Free Chlorine (ppm) | 68% Cal Hypo Needed (lbs) | Practical Bag Count | Use Case |
|---|---|---|---|
| 5 ppm | 1.3 lbs | 2 bags (slight overshoot) | Light maintenance dose when water is clear |
| 10 ppm | 2.6 lbs | 3 bags | Standard shock from zero |
| 15 ppm | 3.9 lbs | 4 bags | Moderate algae presence or heavy organic load |
| 20 ppm | 5.3 lbs | 6 bags (slight overshoot) | Green water, visible algae bloom |
Why These Numbers Matter for Your Decision
The table above makes clear that the jump from a maintenance dose to a real shock treatment is significant: going from 5 ppm to 10 ppm doubles the product you’re adding. If you’re starting from zero because the pool sat unused for a week or two, 3 bags (the 10 ppm target) is the right call. If you’re starting from zero because the water has turned, go straight to the 15 or 20 ppm row. Undershooting a heavily contaminated pool just means you’ll be adding more product in 12 hours after the first dose gets consumed by demand, which costs more in the long run.
Because pool volume is the foundation of every one of these calculations, it’s worth being precise about yours. If you’re unsure whether your pool is exactly 20,000 gallons, the guide on how many gallons a 24×40 inground pool holds walks through the volume formulas by shape and depth, which you can apply to any size.
Common Mistakes to Avoid
- Adding dry granules directly to the pool: Cal hypo granules are denser than water and will sink before fully dissolving. On a gunite surface, this causes white bleach spots or micro-pitting in the plaster. Always pre-dissolve.
- Shocking at midday: UV degrades free chlorine fast. A midday shock can lose 50% of its effectiveness before it has a chance to work. Evening is the standard practice for a reason.
- Skipping the pH test: Shocking at pH 7.8 or higher cuts the effectiveness of chlorine significantly. Drop pH to 7.2 to 7.4 first if it’s elevated, then shock.
- Not running the pump long enough: Eight hours minimum after adding cal hypo. Without circulation, the shock sits in one area of the pool and doesn’t treat the full volume evenly.
- Mixing with other chemicals in the same bucket: Never pre-mix cal hypo with any other pool chemical, including other chlorine forms. Cal hypo reacts violently with trichlor and some algaecides.
Frequently Asked Questions
How much calcium hypochlorite shock do I need for a 20,000-gallon pool?
To raise free chlorine from 0 to 10 ppm in a 20,000-gallon pool, you need approximately 2.6 lbs of 68% calcium hypochlorite. Most bags are sold in 1 lb increments, so adding three 1 lb bags is a safe, practical dose when starting from zero chlorine.
Can I add too much cal hypo to a gunite pool?
Yes. Overdosing calcium hypochlorite in a gunite pool raises both chlorine and calcium hardness simultaneously, and gunite already tends to leach calcium from the shell over time. Keep calcium hardness between 200 and 400 ppm. If you’re shocking heavily more than once a week, test calcium hardness after each treatment to stay ahead of scale buildup.
Should I pre-dissolve calcium hypochlorite before adding it to the pool?
Yes, always pre-dissolve cal hypo in a bucket of water before adding it to the pool. Cal hypo granules can bleach or pit a gunite surface if they settle on the bottom undissolved. Use a clean 5-gallon bucket, stir until fully dissolved, and pour slowly around the perimeter with the pump running.
How long after shocking with cal hypo can I swim?
Wait until free chlorine drops back to 4 ppm or below before swimming, which typically takes 8 to 24 hours with the pump running. Test with a reliable kit before anyone enters the water. Don’t go by the clock alone, because a high organic load can slow the drop.
Does calcium hypochlorite raise calcium hardness in a pool?
Yes. Every pound of 68% cal hypo added to 10,000 gallons raises calcium hardness by roughly 7 to 8 ppm. In a 20,000-gallon pool, adding 3 lbs adds around 10 to 12 ppm of calcium. For a gunite pool that already trends high in calcium hardness, tracking this across multiple shock treatments during a busy swim season is worth the effort.
For a 20,000-gallon gunite pool at zero chlorine, three 1 lb bags of 68% calcium hypochlorite, pre-dissolved and added at dusk with the pump running, puts you right where you need to be.